DIY Raised Garden Bed: An Easy and Accessible Way to Grow Your Own Vegetables
Are you looking to start a vegetable garden but have limited space or difficulty with bending over? A raised garden bed is a great solution for you. Not only do they save space but they also make it easy for anyone to have a vegetable garden. In this guide, we’ll show you step-by-step instructions for building your own raised garden bed.
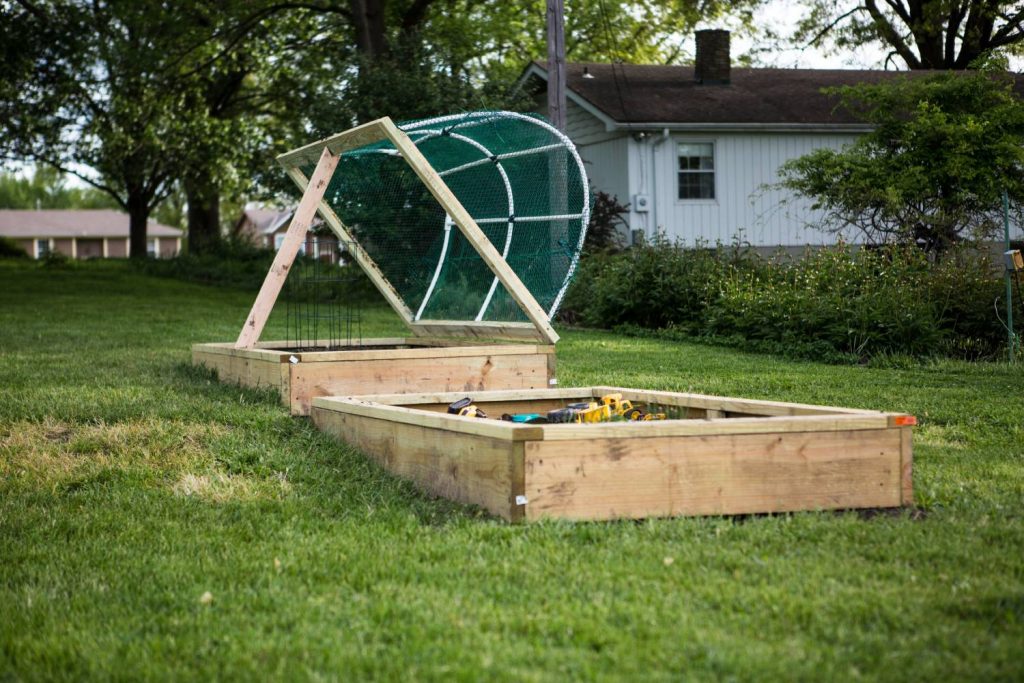
When building a raised garden bed, it’s important to choose the right materials. You’ll need untreated wood, screws or nails, a saw, a drill, a level, and a measuring tape. It’s also important to choose a location that gets at least 6 hours of direct sunlight a day, has good drainage and is level.
To build the raised garden bed, measure and cut your wood to the desired size of your raised bed. A common size is 4×4 feet but you can adjust it to your needs and space availability. Use the screws or nails to assemble the frame of your raised bed, making sure to use a level to ensure that the frame is even and square.
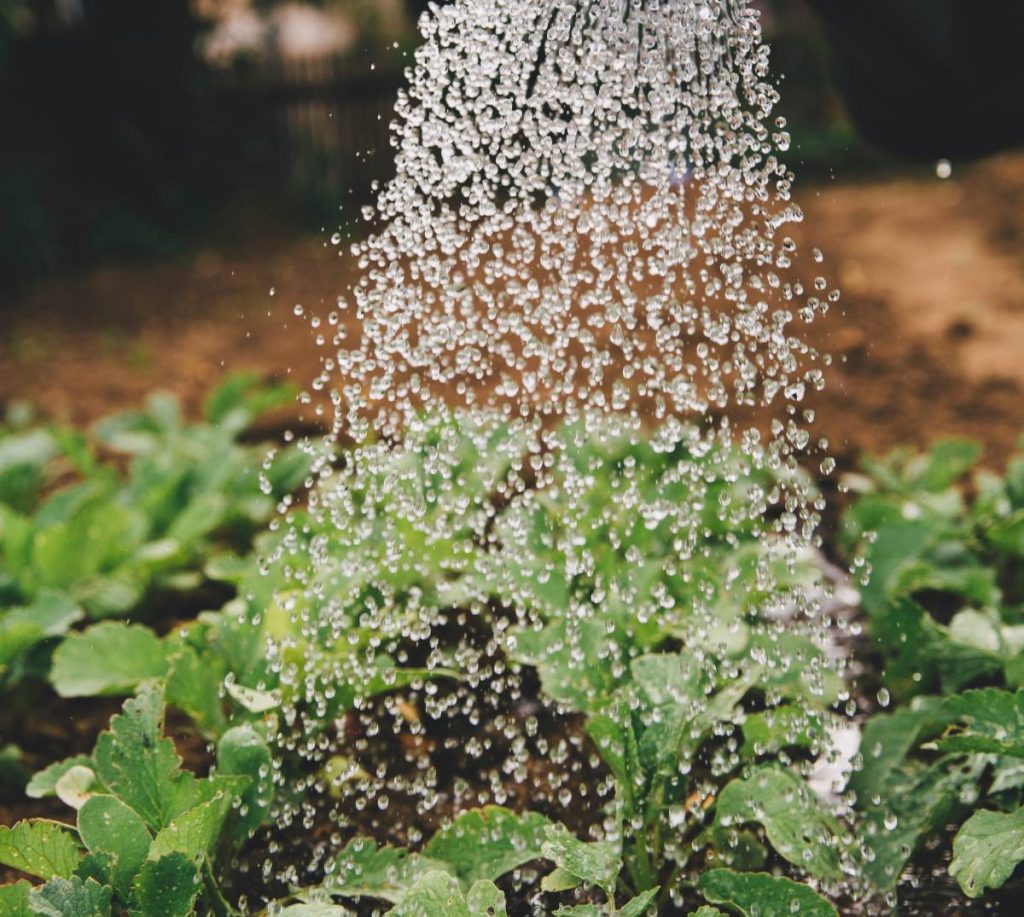
Fill the frame with a mix of topsoil, compost, and organic matter. This will provide the perfect environment for your vegetables to grow. Once you’ve planted your vegetables, water your raised garden bed regularly and fertilize your plants as needed. Keep an eye out for pests and weeds, and address them promptly.
Creating a DIY raised garden bed is an easy and accessible way to start your own vegetable garden. Not only is it a great solution for those with limited space or difficulty with bending over, but it also allows you to control the quality of the soil and the type of vegetables you grow.